
Video Subtitle Hardcoder - パソコン用
- カテゴリ: Photo & Video
- 最終更新日: 2022-04-16
- 現在のバージョン: 2.1
- ファイルサイズ: 355.13 MB
- 互換性: Windows PC 10, 8, 7 + MAC
あなたのWindowsコンピュータで Video Subtitle Hardcoder を使用するのは実際にはとても簡単ですが、このプロセスを初めてお使いの場合は、以下の手順に注意する必要があります。 これは、お使いのコンピュータ用のDesktop Appエミュレータをダウンロードしてインストールする必要があるためです。 以下の4つの簡単な手順で、Video Subtitle Hardcoder をコンピュータにダウンロードしてインストールすることができます:
エミュレータの重要性は、あなたのコンピュータにアンドロイド環境をエミュレートまたはイミテーションすることで、アンドロイドを実行する電話を購入することなくPCの快適さからアンドロイドアプリを簡単にインストールして実行できることです。 誰があなたは両方の世界を楽しむことができないと言いますか? まず、スペースの上にある犬の上に作られたエミュレータアプリをダウンロードすることができます。
A. Nox App または
B. Bluestacks App 。
個人的には、Bluestacksは非常に普及しているので、 "B"オプションをお勧めします。あなたがそれを使ってどんなトレブルに走っても、GoogleやBingで良い解決策を見つけることができます(lol).
Bluestacks.exeまたはNox.exeを正常にダウンロードした場合は、コンピュータの「ダウンロード」フォルダまたはダウンロードしたファイルを通常の場所に保存してください。
見つけたらクリックしてアプリケーションをインストールします。 それはあなたのPCでインストールプロセスを開始する必要があります。
[次へ]をクリックして、EULAライセンス契約に同意します。
アプリケーションをインストールするには画面の指示に従ってください。
上記を正しく行うと、ソフトウェアは正常にインストールされます。
これで、インストールしたエミュレータアプリケーションを開き、検索バーを見つけてください。 今度は Video Subtitle Hardcoder を検索バーに表示し、[検索]を押します。 あなたは簡単にアプリを表示します。 クリック Video Subtitle Hardcoderアプリケーションアイコン。 のウィンドウ。 Video Subtitle Hardcoder が開き、エミュレータソフトウェアにそのアプリケーションが表示されます。 インストールボタンを押すと、アプリケーションのダウンロードが開始されます。 今私達はすべて終わった。
次に、「すべてのアプリ」アイコンが表示されます。
をクリックすると、インストールされているすべてのアプリケーションを含むページが表示されます。
あなたは アイコンをクリックします。 それをクリックし、アプリケーションの使用を開始します。
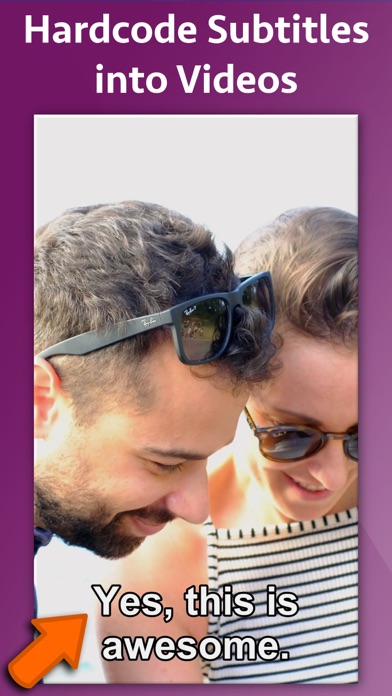
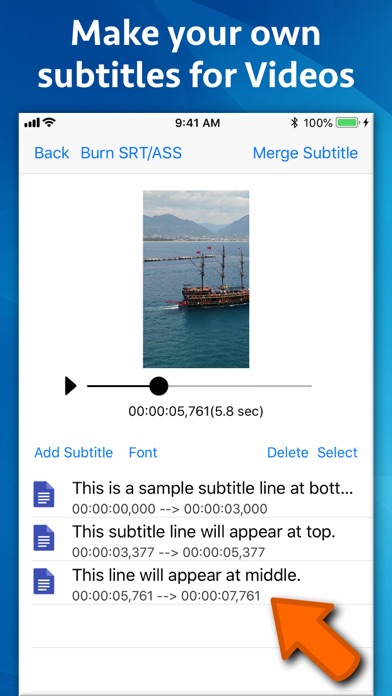
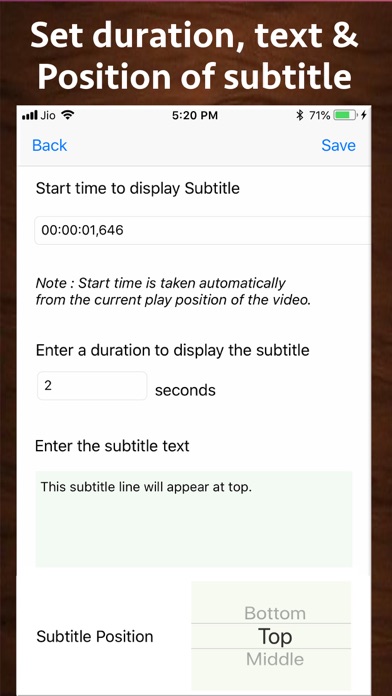
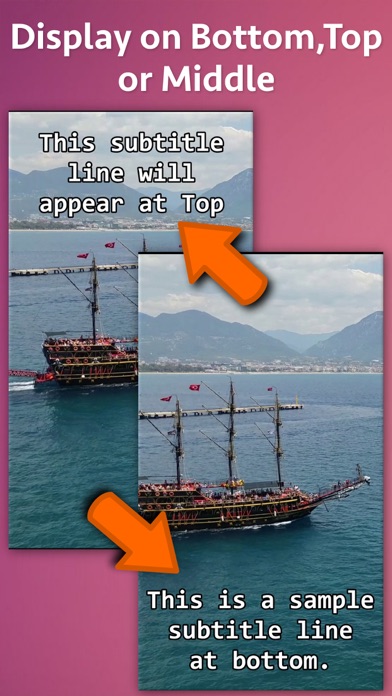
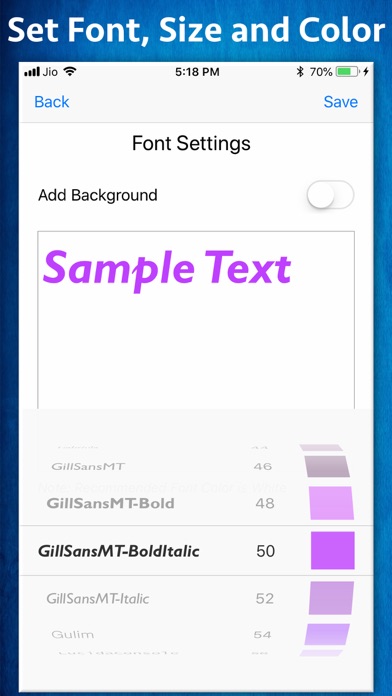
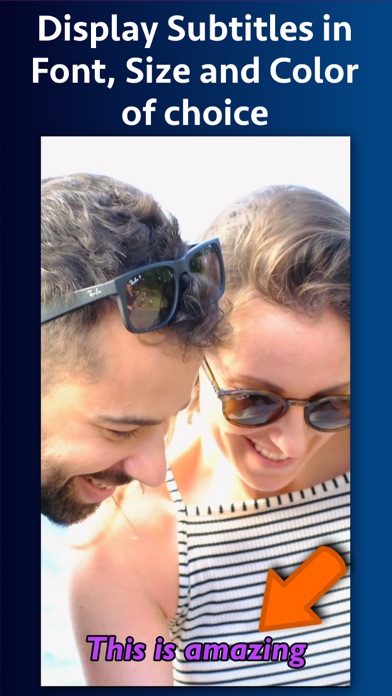
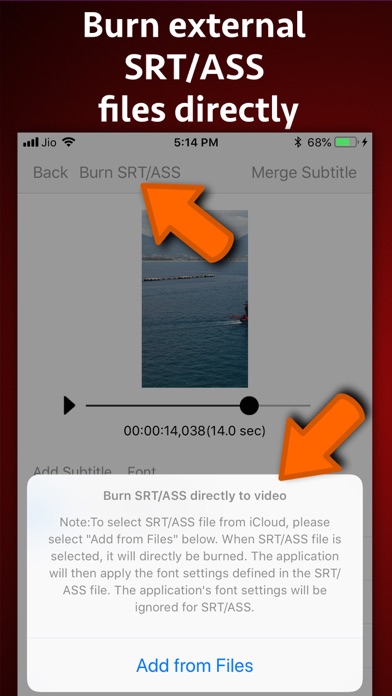
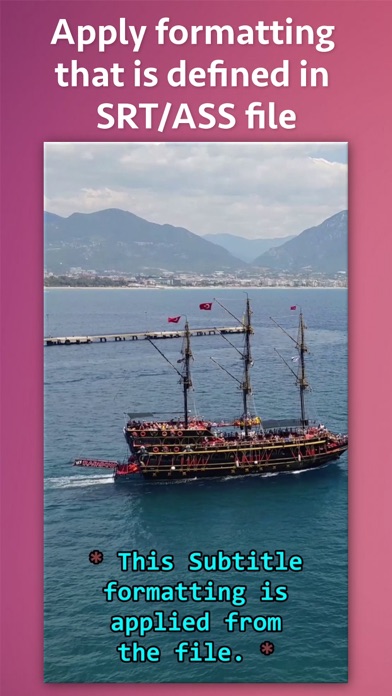
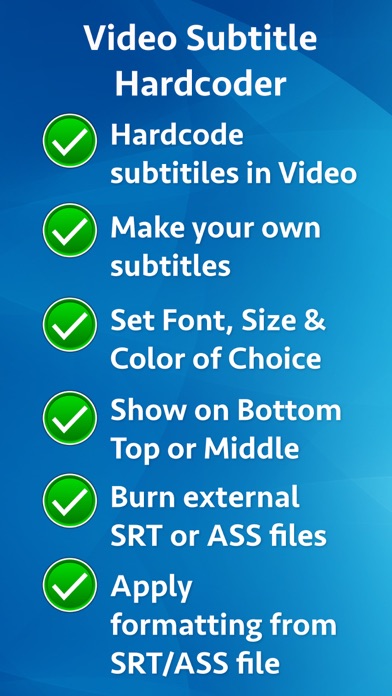
Hardcode subtitles into a video. When a subtitle is hardcoded, it is permanently written into a Video and it is displayed whenever the video plays on any device or social media websites. Since videos autoplay without sound on social platforms, most of the viewers watch videos without sound. By uploading videos with hardcoded subtitles, you’ll get more engagement and higher viewer retention rates. The application provides two ways to hardcode the subtitles. ** Inbuilt support for SRT and ASS files : If you already have a SRT or ASS file, you could directly hardcode it to the video. In this case, the application will automatically take all formatting, font and location settings from the SRT/ASS files and hardcode it directly to the video. ** You could also create your own subtitles and merge them into the video right from the application. The application comes with its own editing interface. On this interface the video preview is displayed. You could traverse through the video and add the subtitle lines wherever required. ** Font, Size and Location : When you are defining your own subtitle lines, there is an option to set the font name, font size and the text color. These settings are universally applied to all subtitles lines that are added. ** Subtitle display location : For each subtitle line, you could specify whether that line should appear at Top, Bottom or Middle. These settings could be specified for individual lines. ** Start Time and duration to display subtitles : You could define the start time from which the subtitle should start displaying and the duration till which it should be displayed. This will ensure that the subtitles are displayed at exactly the right moment in your video. The application has its own inbuilt previewer where you could directly preview the created video with subtitles.