あなたのWindowsコンピュータで Blynk 0.1 (legacy) を使用するのは実際にはとても簡単ですが、このプロセスを初めてお使いの場合は、以下の手順に注意する必要があります。 これは、お使いのコンピュータ用のDesktop Appエミュレータをダウンロードしてインストールする必要があるためです。 以下の4つの簡単な手順で、Blynk 0.1 (legacy) をコンピュータにダウンロードしてインストールすることができます:
エミュレータの重要性は、あなたのコンピュータにアンドロイド環境をエミュレートまたはイミテーションすることで、アンドロイドを実行する電話を購入することなくPCの快適さからアンドロイドアプリを簡単にインストールして実行できることです。 誰があなたは両方の世界を楽しむことができないと言いますか? まず、スペースの上にある犬の上に作られたエミュレータアプリをダウンロードすることができます。
A. Nox App または
B. Bluestacks App 。
個人的には、Bluestacksは非常に普及しているので、 "B"オプションをお勧めします。あなたがそれを使ってどんなトレブルに走っても、GoogleやBingで良い解決策を見つけることができます(lol).
Bluestacks.exeまたはNox.exeを正常にダウンロードした場合は、コンピュータの「ダウンロード」フォルダまたはダウンロードしたファイルを通常の場所に保存してください。
見つけたらクリックしてアプリケーションをインストールします。 それはあなたのPCでインストールプロセスを開始する必要があります。
[次へ]をクリックして、EULAライセンス契約に同意します。
アプリケーションをインストールするには画面の指示に従ってください。
上記を正しく行うと、ソフトウェアは正常にインストールされます。
これで、インストールしたエミュレータアプリケーションを開き、検索バーを見つけてください。 今度は Blynk 0.1 (legacy) を検索バーに表示し、[検索]を押します。 あなたは簡単にアプリを表示します。 クリック Blynk 0.1 (legacy)アプリケーションアイコン。 のウィンドウ。 Blynk 0.1 (legacy) が開き、エミュレータソフトウェアにそのアプリケーションが表示されます。 インストールボタンを押すと、アプリケーションのダウンロードが開始されます。 今私達はすべて終わった。
次に、「すべてのアプリ」アイコンが表示されます。
をクリックすると、インストールされているすべてのアプリケーションを含むページが表示されます。
あなたは アイコンをクリックします。 それをクリックし、アプリケーションの使用を開始します。
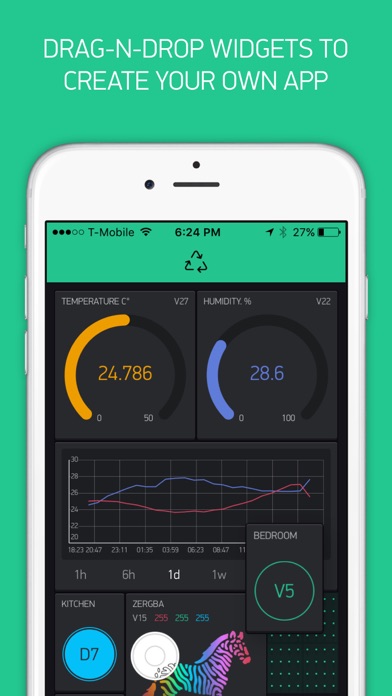
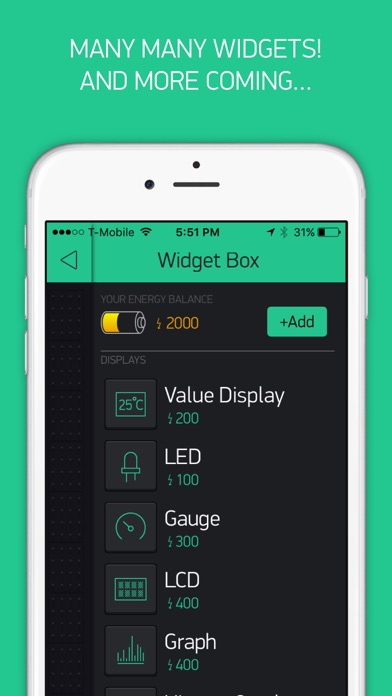
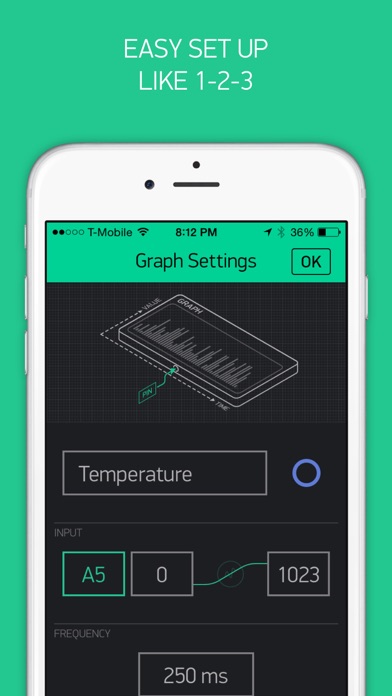
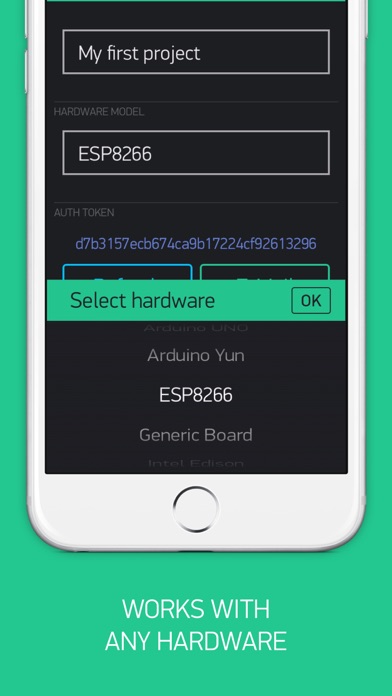
Control Arduino, Raspberry Pi, ESP8266, ESP32, Particle Photon and Electron, and many other microcomputers with an iPhone? Building a smart home or robot? Just learning electronics? - Blynk works for everyone. Blynk is the first and only drag-n-drop mobile app builder for the microcontrollers and Internet of Things (IoT) Connect any sensors and control any actuators connected to your board. Use a wide variety of widgets like buttons, sliders, graphs etc. to visualize sensor data and control any electronics from anywhere in the world with your own app. Blynk is easy. You will start tinkering in 5 minutes! All you need: 1. Set up widgets with a just a few clicks 2. Upload Blynk example sketch code to your hardware 3. Enjoy Blynking! Check the examples in the library to get started and build Your Internet of Things. It doesn't matter if you are newbie or pro. Blynk works with every hardware you can imagine, even with Bluetooth Low Energy(BLE) Just look at this list of already supported boards and shields: • Arduino: Uno, Nano, Mini, Pro Mini, Pro Micro, Mega, YÚN (Bridge), Due • Raspberry Pi (all models) • ESP8266 • ESP32 • Wemos D1 • Particle Core • Particle Photon • Intel Edison and Gallileo • TinyDuino (CC3000) • Wicked WildFire (CC3000) • RedBearLab CC3200, WiFi Mini • Energia • LinkIt ONE • Sparkfun ESP Thing • Sparkfun Blynk Board • WiPy • Espruino • Linux • PC (Ubuntu, etc) • Python (scripts only, library on the way!) • JavaScript ( https://www.npmjs.com/package/blynk-library5 ) • Node.js (Linux, Windows, OSX, Raspberry, Edison, ...) Shields and connections: • USB, connected to your laptop or desktop computer (no shield required!) • Ethernet shield (W5100) • Adafruit CC3000 WiFi • Official Arduino WiFi shield • ENC28J60 ...And this list is constantly updating. You can even write your own hardware library because it's Open Source. You can use our Blynk Cloud for FREE. But if you want to be the boss - deploy your own Blynk Server with a single line of code and have full control in your hands. You can even run it on your Raspberry Pi ! Cool, yeah? If you like Blynk - leave us a review. A good one of course :) Because bugs and crashes should go to forum - this is the best way to fix them. Happy Blynking!
1年振りにアプリを起動したら
久しぶりにアプリを起動したら 以前課金した分がなくなっていました 最悪です。
3B+に対応してください
raspberrypi3model B+にも対応してください
便利
初心者でも分かりやすく、直感的に使えます。 簡単な事なら無料でできますし、自分でサーバを立てる必要もないし便利です。
簡単IoT‼️
Arduino yun では苦戦しているが、ラズパイならあっさりクリアー。 しかし凄い時代になったもんだよ、世界中のどこからでもマイコンをコントロール出来るんだから!