theVRkit - パソコン用
バイ Dermandar
- カテゴリ: Photo & Video
- 最終更新日: 2023-08-08
- 現在のバージョン: 1.31
- ファイルサイズ: 7.66 MB
- 互換性: Windows PC 10, 8, 7 + MAC
バイ Dermandar
あなたのWindowsコンピュータで theVRkit を使用するのは実際にはとても簡単ですが、このプロセスを初めてお使いの場合は、以下の手順に注意する必要があります。 これは、お使いのコンピュータ用のDesktop Appエミュレータをダウンロードしてインストールする必要があるためです。 以下の4つの簡単な手順で、theVRkit をコンピュータにダウンロードしてインストールすることができます:
エミュレータの重要性は、あなたのコンピュータにアンドロイド環境をエミュレートまたはイミテーションすることで、アンドロイドを実行する電話を購入することなくPCの快適さからアンドロイドアプリを簡単にインストールして実行できることです。 誰があなたは両方の世界を楽しむことができないと言いますか? まず、スペースの上にある犬の上に作られたエミュレータアプリをダウンロードすることができます。
A. Nox App または
B. Bluestacks App 。
個人的には、Bluestacksは非常に普及しているので、 "B"オプションをお勧めします。あなたがそれを使ってどんなトレブルに走っても、GoogleやBingで良い解決策を見つけることができます(lol).
Bluestacks.exeまたはNox.exeを正常にダウンロードした場合は、コンピュータの「ダウンロード」フォルダまたはダウンロードしたファイルを通常の場所に保存してください。
見つけたらクリックしてアプリケーションをインストールします。 それはあなたのPCでインストールプロセスを開始する必要があります。
[次へ]をクリックして、EULAライセンス契約に同意します。
アプリケーションをインストールするには画面の指示に従ってください。
上記を正しく行うと、ソフトウェアは正常にインストールされます。
これで、インストールしたエミュレータアプリケーションを開き、検索バーを見つけてください。 今度は theVRkit を検索バーに表示し、[検索]を押します。 あなたは簡単にアプリを表示します。 クリック theVRkitアプリケーションアイコン。 のウィンドウ。 theVRkit が開き、エミュレータソフトウェアにそのアプリケーションが表示されます。 インストールボタンを押すと、アプリケーションのダウンロードが開始されます。 今私達はすべて終わった。
次に、「すべてのアプリ」アイコンが表示されます。
をクリックすると、インストールされているすべてのアプリケーションを含むページが表示されます。
あなたは アイコンをクリックします。 それをクリックし、アプリケーションの使用を開始します。
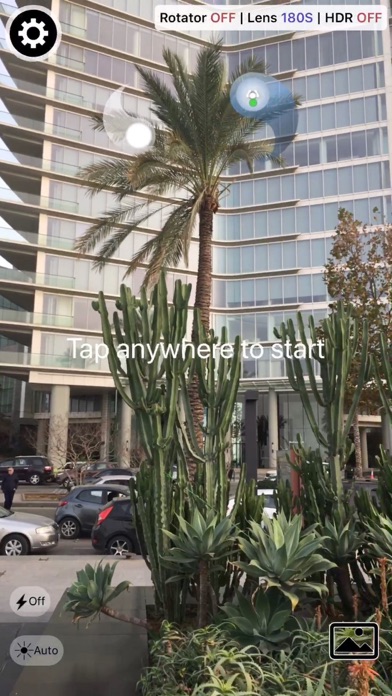
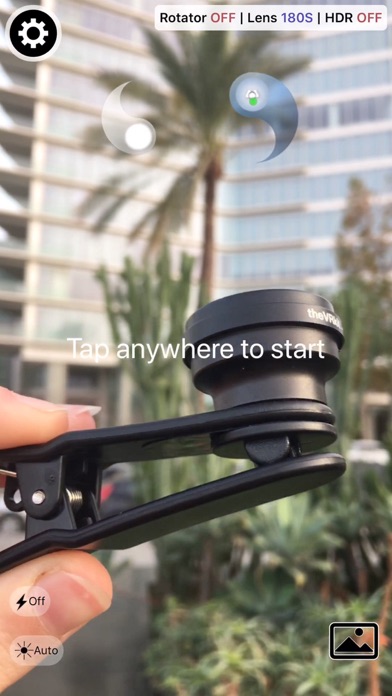
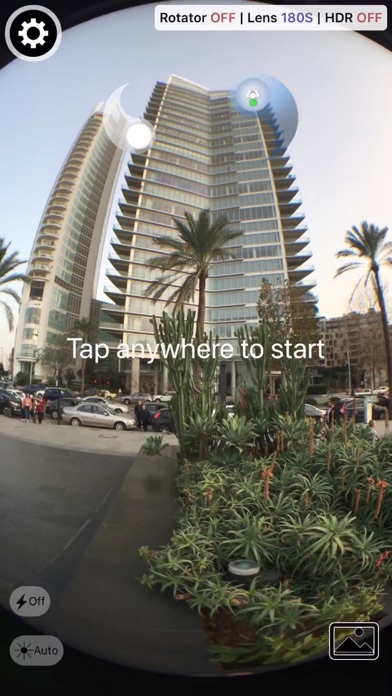
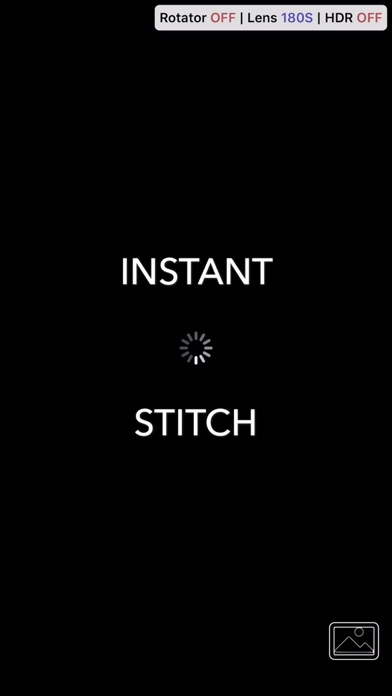
THIS APP REQUIRES A CLIP-ON FISHEYE LENS. Use theVRkit fish-eye lens to capture 360 Spherical Panoramas. You can buy it on www.theVRkit.com to produce high resolution full 360 panoramas (with floors and ceilings) to create 360 virtual tours. Built-in ultra wide lenses are indeed wide, but they only capture 2/3 of the vertical field of view and leave blind spots on top/bottom. Just clip the lens and make a full turn. Multiple images are taken, and stitched instantly on your phone, no internet connection needed. The result is amazing. theVRkit fisheye lens was specially selected for its field of view, clarity and sharpness. We have tested nearly all the lenses of the market, our lens will give you the best output. An optional electronic rotator allows for perfect captures. You can get professional quality VR images at the press of a button. Share the result on Facebook 360 or view it in VR Cardboard mode. Based on the technology of our award-winning app DMD Panorama (10M+ downloads). A detailed instruction manual is available in the faq section on the website theVRkit.com. Quick setup (check the faq in the app - top-left icon - for detailed setup): Manual mode (with the lens and without the rotator): - open the app and select the right options (rotator off) in the top-left corner - make sure you use the proper lens (180S/T or 160M). You can use third-party lenses for testing, but use our lenses for perfect results - remove your phone cover for best results - clip theVRkit fish-eye lens on the rear-camera lens, the screen should show a sharp centered circle with black corners. If the circle is not sharp or centered, adjust the lens position - hold the phone vertical, tap on the screen to take first shot, start rotating slowly either to the right or left, wait for the symbols (Yin Yang) to snap to take next shot - keep rotating to complete a full turn, the 360 panorama should appear instantly when you finish your turn Rotator mode (with the lens and the rotator): - open the app and select the right options (rotator on) in the top-left corner - make sure you use the proper lens (180S or 160M). You can use third-party lenses for testing, but use our lenses for perfect results - remove your phone cover for best results - clip theVRkit fish-eye lens on the rear-camera lens, the screen should show a sharp centered circle with black corners. If the circle is not sharp or centered, adjust the lens position - make sure the rotator is charged, you should charge it for at least 2 hours at first usage - screw the rotator on the provided mini-tripod or a standard one - put the phone on the rotator and screw tightly the phone holder - turn the rotator on, it shows a blue led. If the app does not connect automatically, check you have turned on Bluetooth mode in your phone. There is no need to pair the device or to use the rotator buttons - tap the screen, the rotator should start rotating, the app will capture a picture every time the rotator stops - the 360 panorama appears instantly when the rotator makes a full turn We are sure you will be satisfied by the quality. If you have any issue, you can always contact us for a comment or help: help@theVRkit.com
Excellent!!
I’ve been using Dermandar apps for the past 6 years, specifically their panorama one which is one of the best and easiest pano apps to use. I’ve also purchased the high res IAP in it which is totally worth it. I was really excited to to see theVRkit app which certainly doesn’t disappoint either. The app is really easy to use and quickly creates cool VR images. Great job by the dev team! I already own a fish eye lens so buying another isn’t feasible for me but I would definitely recommend buying their products. The app supports fish eye lenses of 160° and 180°. The one I have is 170° which doesn’t stitch the images very well, so I hope support for it will come in an update, even as an IAP. This is definitely a company that makes quality apps that are well worth the cost.
Amazing technology
My friend recommended theVRkit Bluetooth rotator and fisheye lens from Amazon - that is how I found out about the app. I was blown away by how easy it is to use, and by the quality of the output. I have an iPhone 6s and I am getting 32MP VR images. I am in the market for a new house, and the navigation in all directions definitely facilitates remembering the small details and getting a better feel for the place. Highly highly recommend.