Leonardo - Photo Layer Editor - パソコン用
- カテゴリ: Photo & Video
- 最終更新日: 2022-05-19
- 現在のバージョン: 2.7.2
- ファイルサイズ: 57.57 MB
- 互換性: Windows PC 10, 8, 7 + MAC
あなたのWindowsコンピュータで Leonardo - Photo Layer Editor を使用するのは実際にはとても簡単ですが、このプロセスを初めてお使いの場合は、以下の手順に注意する必要があります。 これは、お使いのコンピュータ用のDesktop Appエミュレータをダウンロードしてインストールする必要があるためです。 以下の4つの簡単な手順で、Leonardo - Photo Layer Editor をコンピュータにダウンロードしてインストールすることができます:
エミュレータの重要性は、あなたのコンピュータにアンドロイド環境をエミュレートまたはイミテーションすることで、アンドロイドを実行する電話を購入することなくPCの快適さからアンドロイドアプリを簡単にインストールして実行できることです。 誰があなたは両方の世界を楽しむことができないと言いますか? まず、スペースの上にある犬の上に作られたエミュレータアプリをダウンロードすることができます。
A. Nox App または
B. Bluestacks App 。
個人的には、Bluestacksは非常に普及しているので、 "B"オプションをお勧めします。あなたがそれを使ってどんなトレブルに走っても、GoogleやBingで良い解決策を見つけることができます(lol).
Bluestacks.exeまたはNox.exeを正常にダウンロードした場合は、コンピュータの「ダウンロード」フォルダまたはダウンロードしたファイルを通常の場所に保存してください。
見つけたらクリックしてアプリケーションをインストールします。 それはあなたのPCでインストールプロセスを開始する必要があります。
[次へ]をクリックして、EULAライセンス契約に同意します。
アプリケーションをインストールするには画面の指示に従ってください。
上記を正しく行うと、ソフトウェアは正常にインストールされます。
これで、インストールしたエミュレータアプリケーションを開き、検索バーを見つけてください。 今度は Leonardo - Photo Layer Editor を検索バーに表示し、[検索]を押します。 あなたは簡単にアプリを表示します。 クリック Leonardo - Photo Layer Editorアプリケーションアイコン。 のウィンドウ。 Leonardo - Photo Layer Editor が開き、エミュレータソフトウェアにそのアプリケーションが表示されます。 インストールボタンを押すと、アプリケーションのダウンロードが開始されます。 今私達はすべて終わった。
次に、「すべてのアプリ」アイコンが表示されます。
をクリックすると、インストールされているすべてのアプリケーションを含むページが表示されます。
あなたは アイコンをクリックします。 それをクリックし、アプリケーションの使用を開始します。
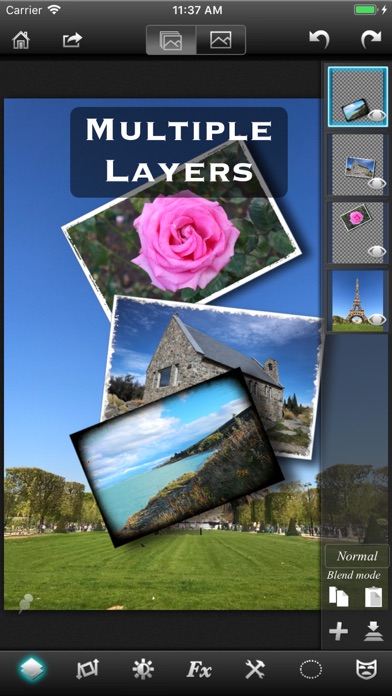
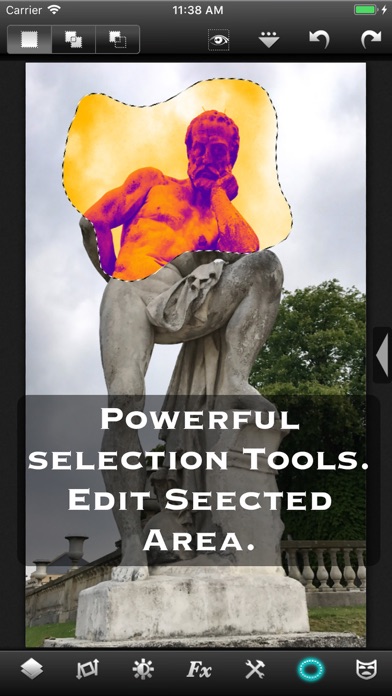
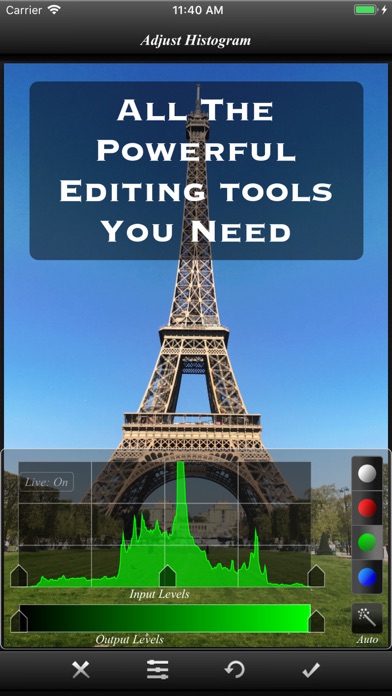
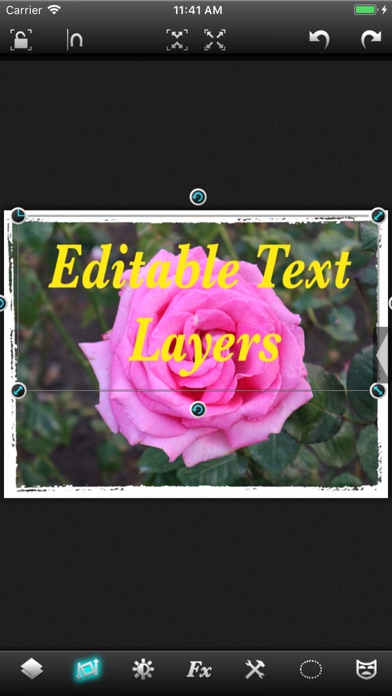
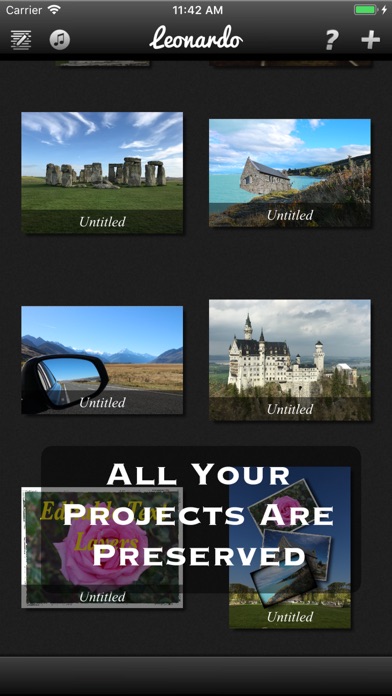
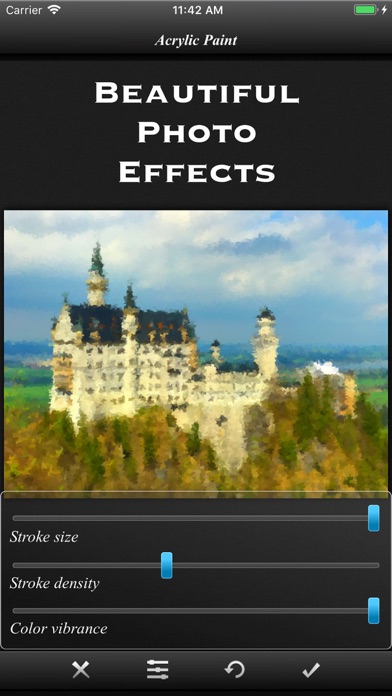
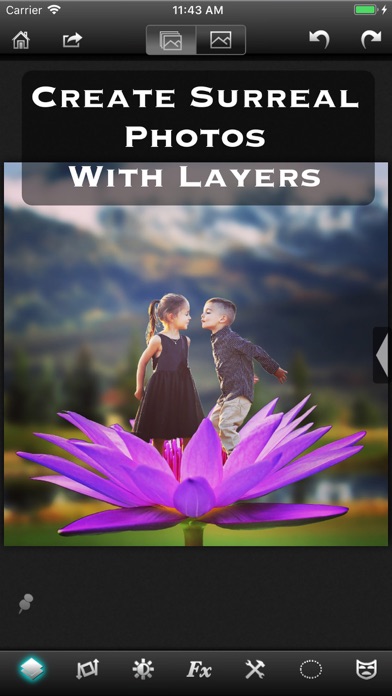
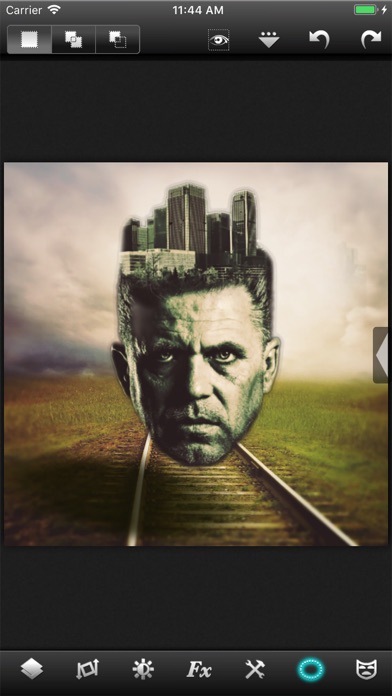
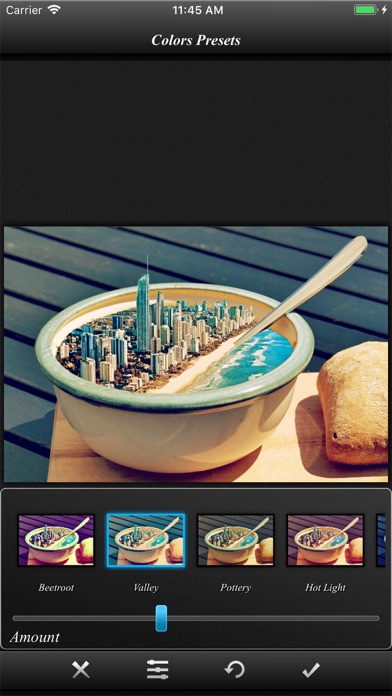
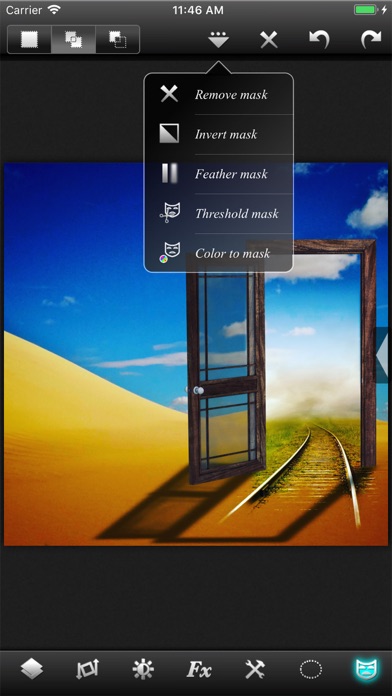
Universal Photo Editor with support for Layers, Selection, Masks and of course filters, effects and other tools. An editor so powerful that you could do almost anything that you thought was possible only on a desktop. √ True layer support, just like photo editing on desktop. √ Selection. You can select an area and work with filters and effects only on that area. √ Layers can be masked. And not just with brush, you get a whole set of mask editing tool. √ Layers support all that a true layer app should. Blending, Opacity, Transform, Duplicate, Merge and flatten. √ The app is so fast that most of the operations are real time. You don't have to wait while adjusting the sliders. √ Handles Exif, IPTC, Geotag etc. You can even edit Geotag and IPTC. √ Exports PSD with layers. And of course exports JPEG and PNG too. √ Copy/Paste with selections and masks. √ Undo/Redo. √ Powerful filters you will hardly find on many other apps. √ 25 preset photo effects. √ Tools like Crop, Straighten, Clone stamp, color gradient, paint brush, red eye brush and add text etc. √ You can save your projects with all layers and selections preserved and work on them back and forth. √ 18 video tutorials. √ Resolution up to 4096x4096 on iPad3 and above and on iPhone max resolution is equal to the resolution of the built-in camera. And yes, it runs on both iPhone and iPad. Note that reduce noise filter is available only on iPhone 5 and iPad3 and above. To get maximum resolution you will need to... 1. Go to home screen. 2. Press on the "?" button. 3. Under resolution, select the max.
種類豊富
なんか色々出来ちゃうのですが、逆に機能が多過ぎていじり倒してる間にあれ?どこからすすむのだったかな??と、探してしまうことがあります。 その辺も使いこなせるともっと面白い写真を作れるのかもしれません。
プロ仕様(落書きも可)
遊びで使う種類は多くないけれど、他にはないパターンがあり綺麗。何より普通は弄らない機能が多数使える。 ブラシが使い易くundo.redo含め加工の読み込みが速いのでストレスがない。 文字入れもあるんだけど落書きが楽しい‥。 余り熱中すると色々迷子になるので注意が必要。