
あなたのWindowsコンピュータで Music & Audio Editor を使用するのは実際にはとても簡単ですが、このプロセスを初めてお使いの場合は、以下の手順に注意する必要があります。 これは、お使いのコンピュータ用のDesktop Appエミュレータをダウンロードしてインストールする必要があるためです。 以下の4つの簡単な手順で、Music & Audio Editor をコンピュータにダウンロードしてインストールすることができます:
エミュレータの重要性は、あなたのコンピュータにアンドロイド環境をエミュレートまたはイミテーションすることで、アンドロイドを実行する電話を購入することなくPCの快適さからアンドロイドアプリを簡単にインストールして実行できることです。 誰があなたは両方の世界を楽しむことができないと言いますか? まず、スペースの上にある犬の上に作られたエミュレータアプリをダウンロードすることができます。
A. Nox App または
B. Bluestacks App 。
個人的には、Bluestacksは非常に普及しているので、 "B"オプションをお勧めします。あなたがそれを使ってどんなトレブルに走っても、GoogleやBingで良い解決策を見つけることができます(lol).
Bluestacks.exeまたはNox.exeを正常にダウンロードした場合は、コンピュータの「ダウンロード」フォルダまたはダウンロードしたファイルを通常の場所に保存してください。
見つけたらクリックしてアプリケーションをインストールします。 それはあなたのPCでインストールプロセスを開始する必要があります。
[次へ]をクリックして、EULAライセンス契約に同意します。
アプリケーションをインストールするには画面の指示に従ってください。
上記を正しく行うと、ソフトウェアは正常にインストールされます。
これで、インストールしたエミュレータアプリケーションを開き、検索バーを見つけてください。 今度は Music & Audio Editor を検索バーに表示し、[検索]を押します。 あなたは簡単にアプリを表示します。 クリック Music & Audio Editorアプリケーションアイコン。 のウィンドウ。 Music & Audio Editor が開き、エミュレータソフトウェアにそのアプリケーションが表示されます。 インストールボタンを押すと、アプリケーションのダウンロードが開始されます。 今私達はすべて終わった。
次に、「すべてのアプリ」アイコンが表示されます。
をクリックすると、インストールされているすべてのアプリケーションを含むページが表示されます。
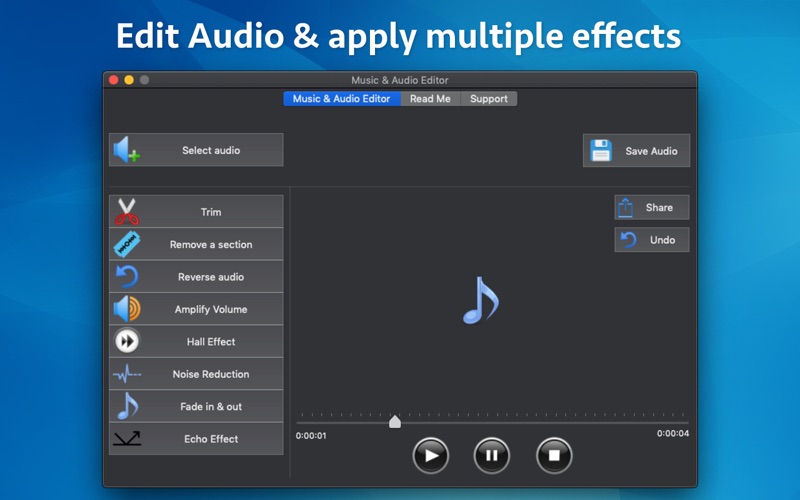
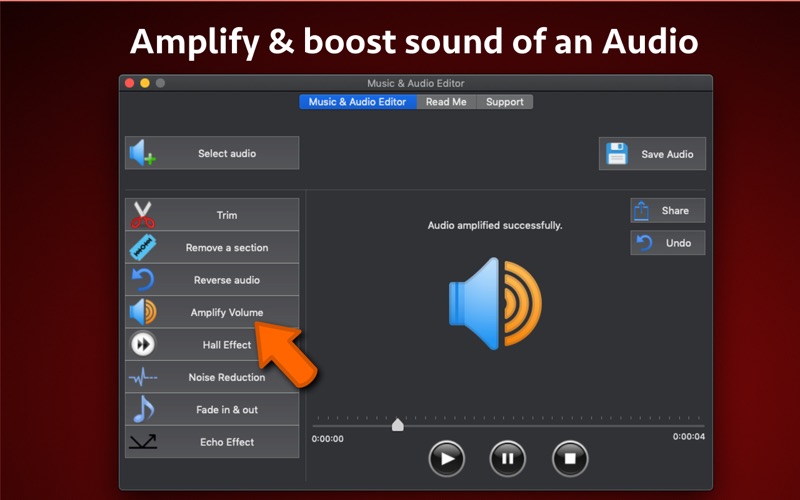
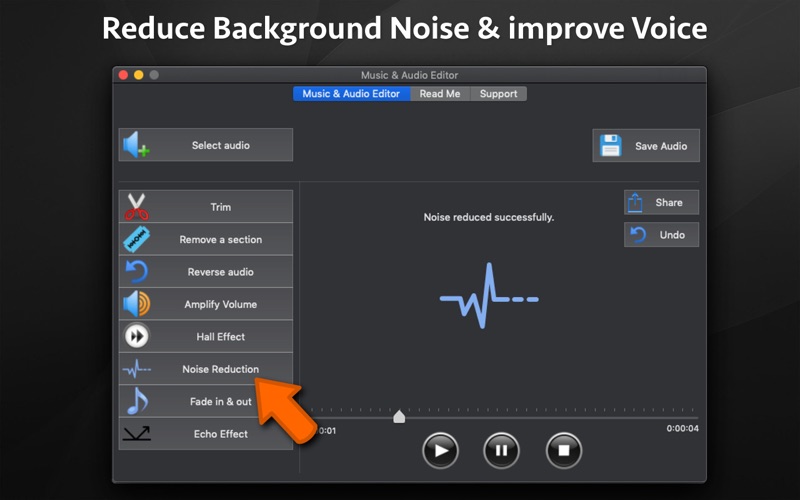
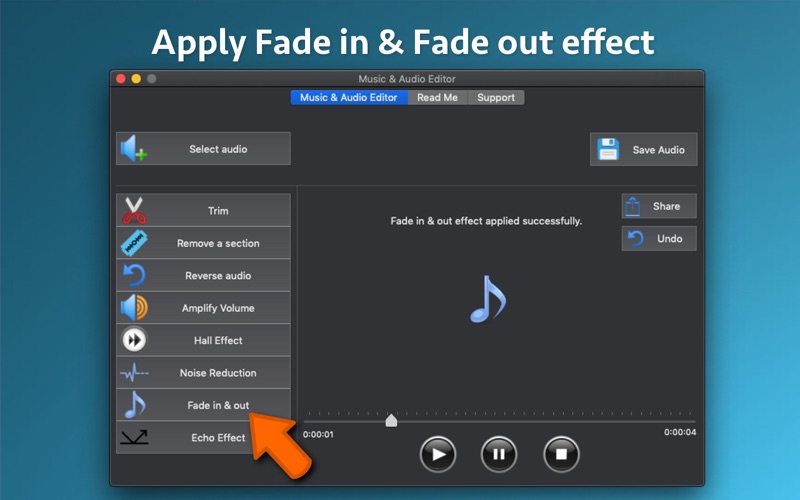
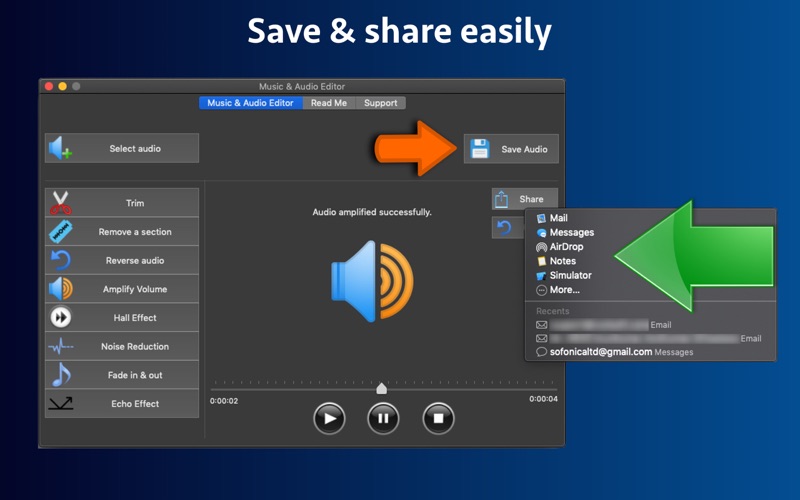
あなたは アイコンをクリックします。 それをクリックし、アプリケーションの使用を開始します。
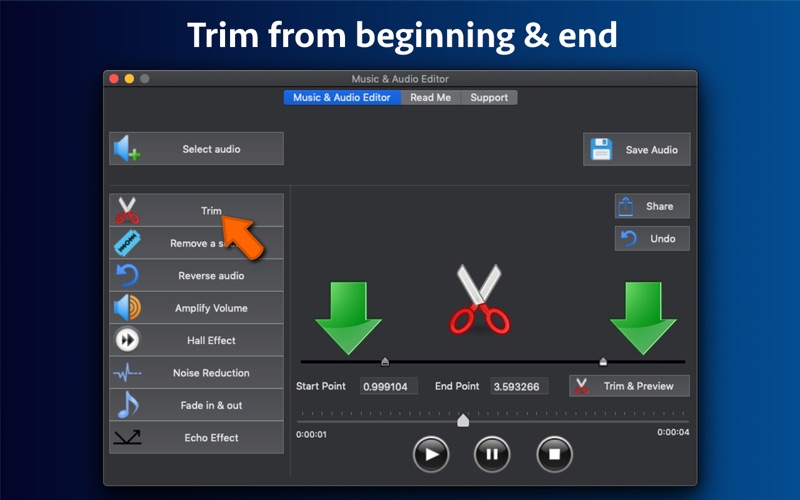
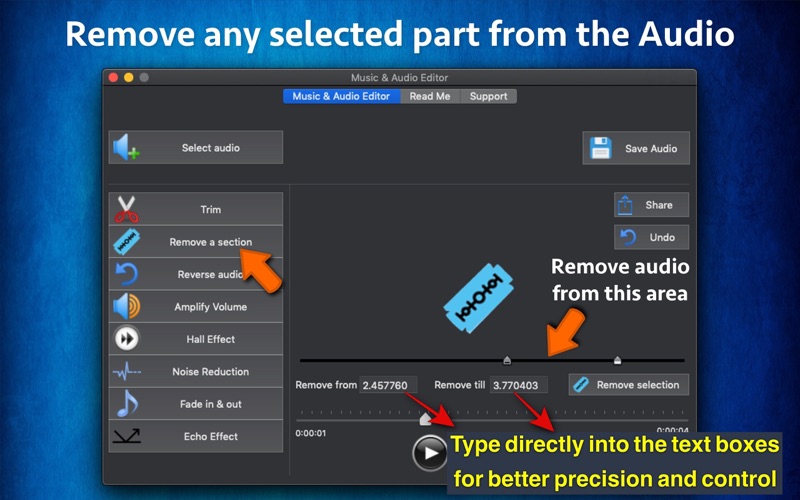
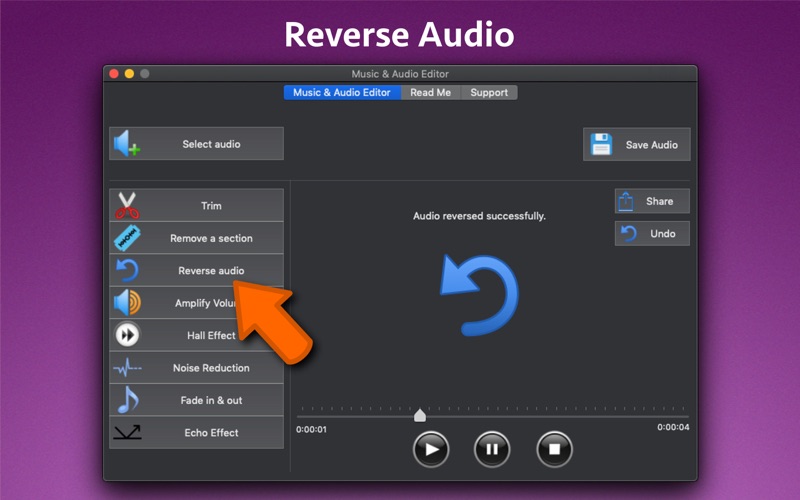
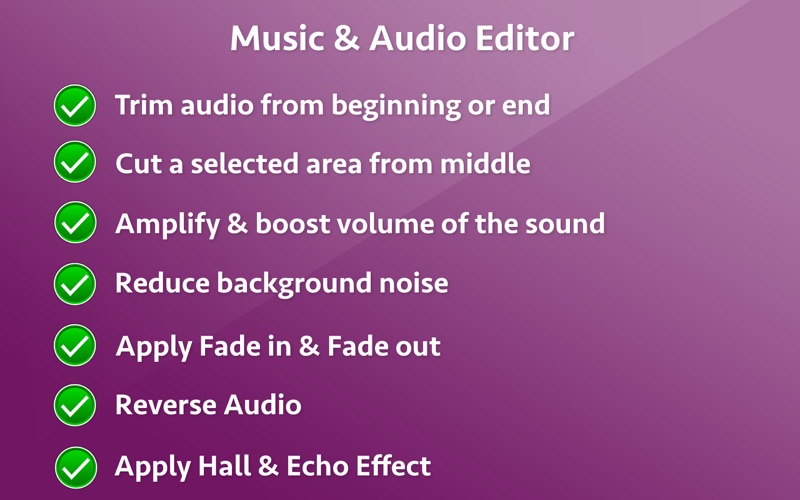
Edit audio & enhance it by applying multiple effects like Noise Reduction, Voice amplification, Fade In and Fade Out, Hall & Echo effect, Reverse audio, Trim, Cut and many more. Below are the features of the application : ** Trim Audio : Trim audio from beginning and end. ** Remove selected area : Cut any selected area from anywhere in the audio. ** Reverse audio : Reverse the audio & save it as a new audio file. ** Amplify & boost sound : If your audio has low sound, you could amplify it using this option. This option will increase the volume level of the audio and make it more audible. **Reduce background noise: This option reduces the background noise from the audio and it also improve the voice making the audio clear and more audible. ** Apply Fade in and Fade out effect : This option adds the fade in and fade out effect to the audio. After applying this effect, the audio's volume will gradually increase in the beginning from zero to maximum. Also, at the end of the audio the volume will decrease from maximum to zero. ** Hall effect : This option will modify the audio so that it will seem that the voice is coming from a hall. ** Echo : This effect will apply the echo effect. Echo is a reflection of sound that arrives at the listener with a delay after the direct sound. Once the audio is edited, you could save it to computer or share it with various applications like Mail, Messages, Notes & many more. Also, you could share it with other devices using AirDrop. Note : a) The DRM protected and Copyrighted audio files could not be edited. b) The audio effects are applied on top of previously applied effect. For example : If you apply the “Amplify Volume” effect followed by “Hall effect”, then the resulting audio will be an audio with amplified volume and it will have the hall effect as well. The application also has "Undo" functionality to undo the last applied effect. c) The application supports MP3, WAV, M4a and AAC audio formats.